ICO to BMP Conversion Guide – Easy Steps for High-Quality Images
Created on 10 November, 2025 • Image manipulation tools • 58 views • 2 minutes read
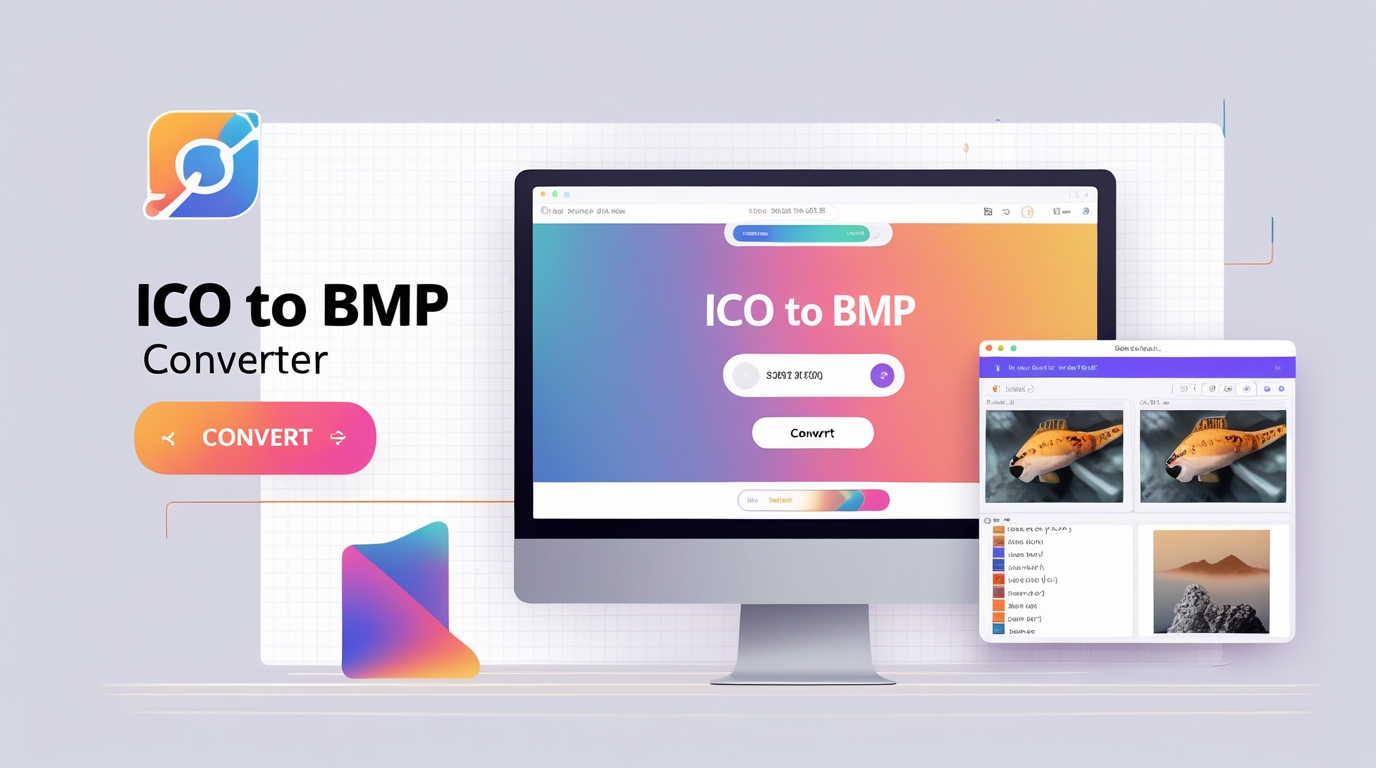
Learn how to convert ICO files to BMP format easily. Follow this step-by-step guide to maintain high image quality and compatibility with image editors.
Converting ICO files to BMP might seem tricky at first, but with the right approach, it becomes simple and manageable. ICO files, typically used for icons in Windows applications, often need to be converted into BMP format for better editing or compatibility. BMP, or Bitmap, is a widely supported image format that preserves high-quality images without compression. In this guide, we will explain the process step by step, making it easy for anyone, even beginners, to understand.What is ICO and BMP?
Before diving into conversion, it is essential to understand the two formats. ICO files are small image files primarily used for icons in software and websites. They can contain multiple sizes and color depths, making them versatile for various screen resolutions.
On the other hand, BMP (Bitmap) is an uncompressed image format that maintains the image’s original quality. Unlike ICO files, BMP images are easier to edit in standard image editors. Therefore, converting ICO to BMP is beneficial for designers, developers, and anyone needing high-quality images from icons.
Why Convert ICO to BMP?
There are several reasons why converting ICO to BMP is practical. First, BMP files provide better compatibility with image editing software. Unlike ICO, which is specialized for icons, BMP can be used for general-purpose graphics work.
Second, BMP retains the original image quality. When working with ICO files, you may notice that some editing tools reduce clarity or color depth. Converting to BMP ensures that the image remains sharp and detailed.
Finally, BMP files are easier to use in presentations, documents, and design projects. By converting your ICO files to BMP, you unlock flexibility while maintaining visual integrity.
How to Convert ICO to BMP
Converting ICO to BMP can be done using free software or online tools. Here’s a step-by-step approach:
Using Online Tools
Open a trusted ICO to BMP conversion website.
Upload your ICO file by selecting it from your device.
Choose BMP as the output format.
Click “Convert” and wait for the process to finish.
Download your newly converted BMP file.
Online tools are convenient because they don’t require installing software. However, make sure to use reputable sites to protect your files.
Using Software
Download image editing software that supports both ICO and BMP formats, such as GIMP or Paint.NET.
Open your ICO file in the software.
Select “Save As” or “Export” and choose BMP as the format.
Save the file to your desired location.
This method is ideal for users who frequently work with image conversions or need additional editing options before saving.
Tips for Smooth Conversion
To ensure a seamless ICO to BMP conversion, consider the following tips:
Check the ICO file’s resolution before converting to avoid pixelation.
Maintain the same color depth if you want to preserve image quality.
Keep backup copies of original ICO files in case of errors.
By following these tips, you can achieve high-quality BMP images without hassle.
Converting ICO files to BMP is a straightforward process that enhances image usability, quality, and compatibility. Whether you use online tools or desktop software, you can easily transform your icon files into high-resolution BMP images. This guide provides all the necessary steps and tips for a smooth conversion, ensuring that your images remain sharp and versatile.
Popular posts
-
-
-
-
-
DNS LookupChecker tools • 99 views